Wednesday, November 25, 2009
Flat Iron Giveaway!!
The story of a princess and her hair is giving away a flat iron! Go check it out!
Monday, November 23, 2009
GIVEAWAY ON GOLDYLOCKS AND HER 2 GIRLS BLOG!!!
THIS IS AN AMAZING SITE AND THEY ARE HAVING A GIVEAWAY! GO OVER TO THERE SITE AND CHECK IT OUT!

Thursday, November 19, 2009
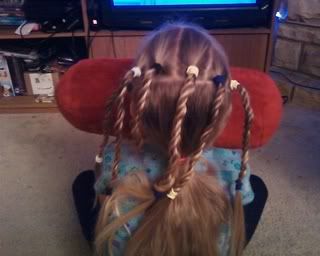
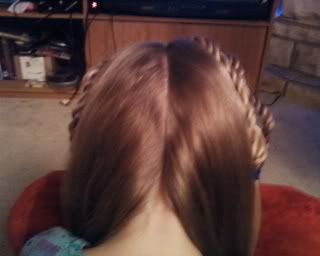
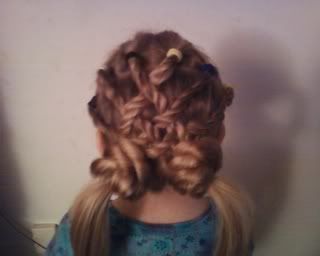
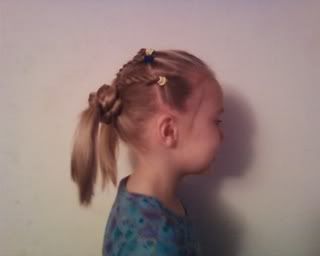
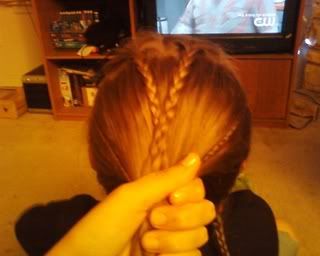
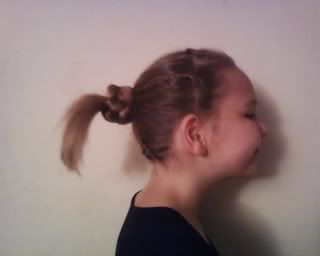
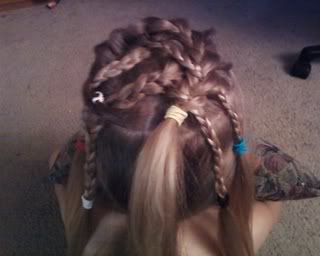
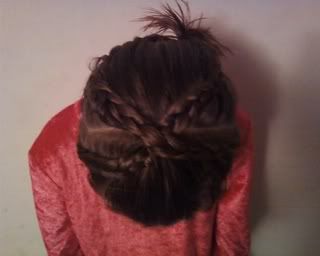
Twisted Piggie Buns
Time: 15 minutes
Items Needed: 8 pony tail holders.
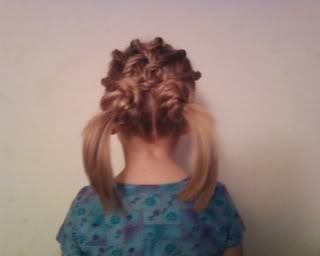
First divide the top part of the hair from ear to ear. Then pull the bottom into a low pony.
Divide the top section in half.
Staring on the left side divide into three sections and secure with a pony tail holder for each section. Then make a rope with each section.
Repeat on the right side. You will end up with 6 twists.
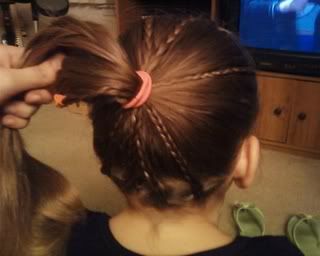
Take the bottom section out of the pony and divide in half.
Criss cross the twists over themselves and add to three to the right pigtail.
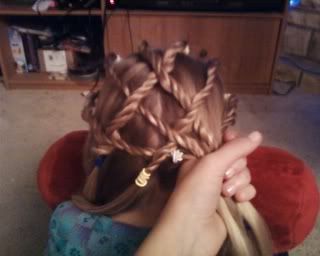
Repeat on the left side.
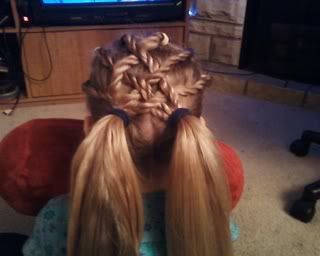
Twist the left piggie 3/4ths of the way down.
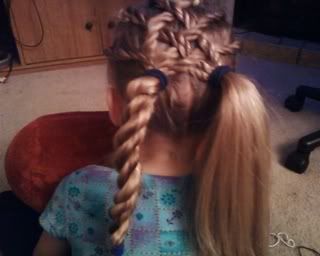
Do the same with the right. Then twist into a bun and pull the end through the middle.
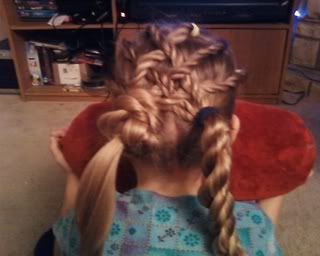
Repeat with the other side and secure with bobby pins.

Items Needed: 8 pony tail holders.
First divide the top part of the hair from ear to ear. Then pull the bottom into a low pony.
Divide the top section in half.
Staring on the left side divide into three sections and secure with a pony tail holder for each section. Then make a rope with each section.
Repeat on the right side. You will end up with 6 twists.
Take the bottom section out of the pony and divide in half.
Criss cross the twists over themselves and add to three to the right pigtail.
Repeat on the left side.
Twist the left piggie 3/4ths of the way down.
Do the same with the right. Then twist into a bun and pull the end through the middle.
Repeat with the other side and secure with bobby pins.
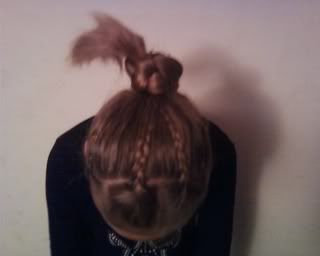
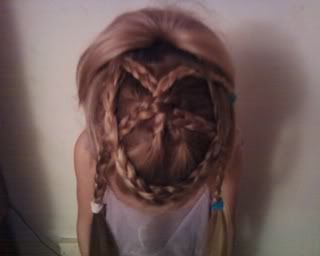
Braided Bun Pony
Time: 10 Mins.
Items Needed: A hair tie, bobby pins
First part the top of the hair starting in front of the ears.
Pull the remaining hair into a low pony to get it out of the way. Then part the top of the hair into four sections. Braid each section and pin to hold the braid.
Then make a part at the bottom of the hair starting at the bottom of the ear.

Divide into four sections a braid each section.

Gather the middle section into a ponytail.
Add the braids, crossing the ones in the middle.
Braid the pony tail 3/4ths of the way down.
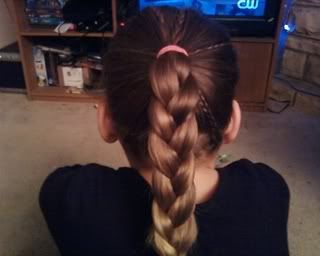
Twist into a bun, then pull the loose part of the pony throught the center. Secure the bun with bobby pins.

Items Needed: A hair tie, bobby pins
First part the top of the hair starting in front of the ears.
Pull the remaining hair into a low pony to get it out of the way. Then part the top of the hair into four sections. Braid each section and pin to hold the braid.
Then make a part at the bottom of the hair starting at the bottom of the ear.
Divide into four sections a braid each section.
Gather the middle section into a ponytail.
Add the braids, crossing the ones in the middle.
Braid the pony tail 3/4ths of the way down.
Twist into a bun, then pull the loose part of the pony throught the center. Secure the bun with bobby pins.
Tuesday, November 17, 2009
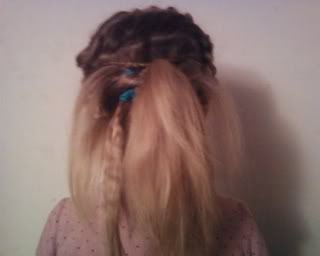
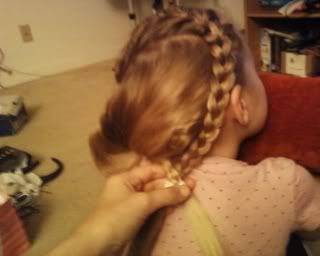
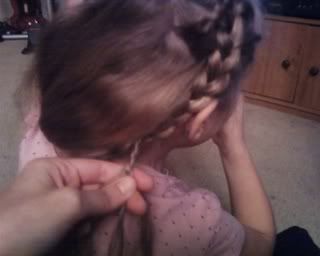
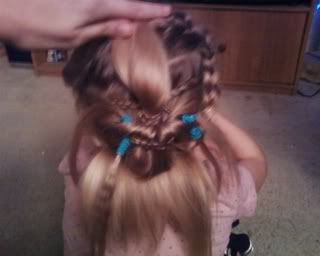
Braided Halo
This is a beautiful hairstyle for every Angel!
Time: 15 Min.
Items Needed: 5 hair ties
First make a part starting a half an inch above the right ear all the way across to a half an inch above the left ear.
Pull the remaining hair into a low pony to get it out of the way.
Starting at the part in the middle start french braiding to the left only gathering hair from the front.
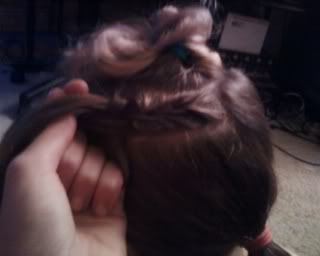
Continue all the way around until you reach the beginning of the braid. This will leave some hair in the middle of the halo.
Part the remaining hair in the middle of the halo into four sections and braid them.
Cross the braids over each other in the center of the head and thread through the halo.
Pull the bottom of the hair into a pony tail at the back of the head adding the end of the french braid. Above the ponytail holder part in half and feed the pony tail through. Don't pull it all the way through though.


Time: 15 Min.
Items Needed: 5 hair ties
First make a part starting a half an inch above the right ear all the way across to a half an inch above the left ear.
Pull the remaining hair into a low pony to get it out of the way.
Starting at the part in the middle start french braiding to the left only gathering hair from the front.
Continue all the way around until you reach the beginning of the braid. This will leave some hair in the middle of the halo.
Part the remaining hair in the middle of the halo into four sections and braid them.
Cross the braids over each other in the center of the head and thread through the halo.
Pull the bottom of the hair into a pony tail at the back of the head adding the end of the french braid. Above the ponytail holder part in half and feed the pony tail through. Don't pull it all the way through though.
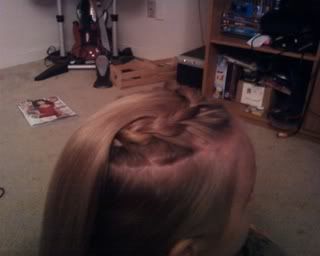
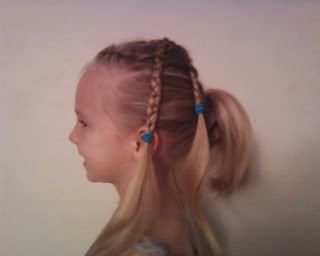
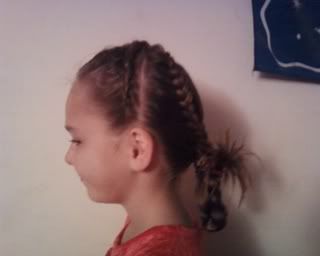
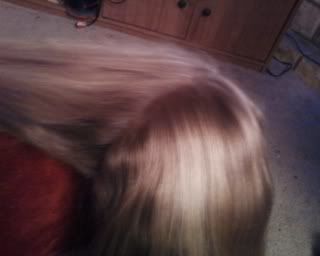
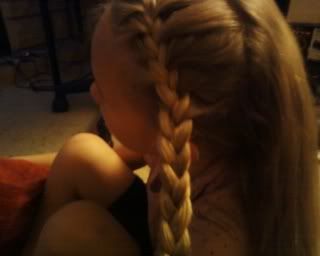
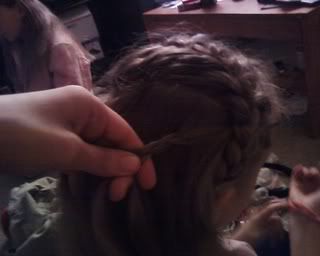
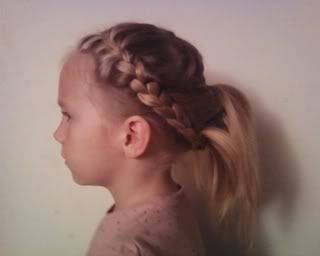
Criss Cross Side Braided Pony
This is a really cute hairstyle for a tween/or teen. I'm sorry I don't have pictures of how to do it, just the end results. I learned the criss cross french braid from the best hair blog out there. A Story Of A Princess And Her Hair!
Time: 10 Minutes
Items Needed: Three hair ties
Start by parting the hair from ear to ear. Part the top half in two down the middle. Starting at the right ear start french braiding to the left only taking hair from the back of the hair by the part. Once you reach the center part continue braiding a few links then continue french braiding underneath the part on the left side until you reach the left ear. Reapeat on the other side criss crossing them in the middle. Then pull into a low side pony and braid the pony. Fold the braid in half and tie off.
Friday, November 13, 2009
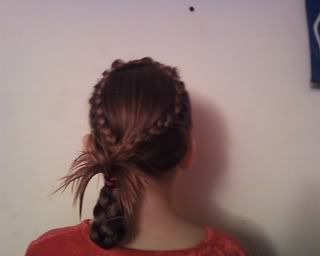
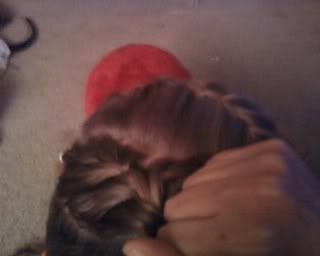
Braided Mess
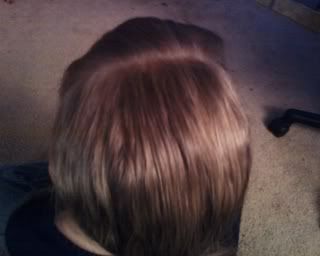
This is a really cute braided mess lol. It starts the same way as the Princess Zig Zag Braid.
Time: 10 Minutes
Items Needed: two pony tail holders, bobby pins
First section of the top part of the hair from right behind the ear to the other side.
Take the remaining hair on the bottom and pull into a low pony to get it out of the way.
Then take the top section and starting on the right divide part it diagonal starting above the corner of the right eye and ending behind the left ear. Let the remainder hang down until you need it.
Start french braiding from the right side working your way left.

Contiune braiding all the way down.
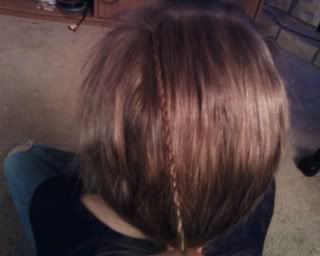
Next starting behind the left ear start french braiding to the right side of the head.
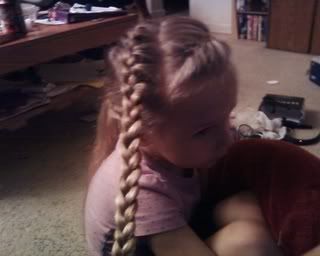
Continue braiding all the way down. Then take the two braid ends and tie them together under the low pony.
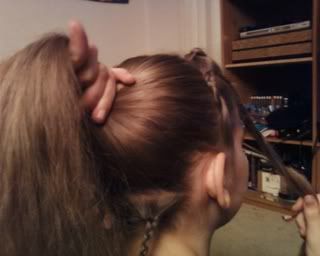
Then take the low pony and pull it into a pony in the middle of the head.
Then take out a little bit of hair at the four corners of the pony to braid.
Divide the pony in half above the pony tail holder and pull the ponytail up and through the middle.
After you have your four braids take the top right braid and wrap around the pony tail holder once.
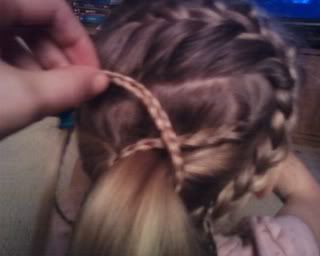
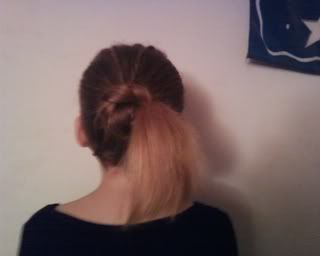
Take the remainder of the braid and pull it through the middle of the tucked in part of the pony tail. So it hangs down like this:
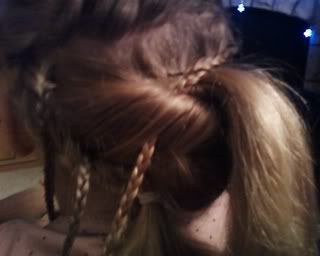
Secure with a bobby pin. Do the same with the top left braid.
Take the bottom left braid and wrap around the pony from the bottom and pull through. Do the same with the right bottom. Secure with bobby pins.
Back to the braided pony tied at the bottom of the head tuck it under the same as you did for the pony.
Time: 10 Minutes
Items Needed: two pony tail holders, bobby pins
First section of the top part of the hair from right behind the ear to the other side.
Take the remaining hair on the bottom and pull into a low pony to get it out of the way.
Then take the top section and starting on the right divide part it diagonal starting above the corner of the right eye and ending behind the left ear. Let the remainder hang down until you need it.
Start french braiding from the right side working your way left.
Contiune braiding all the way down.
Next starting behind the left ear start french braiding to the right side of the head.
Continue braiding all the way down. Then take the two braid ends and tie them together under the low pony.
Then take the low pony and pull it into a pony in the middle of the head.
Then take out a little bit of hair at the four corners of the pony to braid.
Divide the pony in half above the pony tail holder and pull the ponytail up and through the middle.
After you have your four braids take the top right braid and wrap around the pony tail holder once.
Take the remainder of the braid and pull it through the middle of the tucked in part of the pony tail. So it hangs down like this:
Secure with a bobby pin. Do the same with the top left braid.
Take the bottom left braid and wrap around the pony from the bottom and pull through. Do the same with the right bottom. Secure with bobby pins.
Back to the braided pony tied at the bottom of the head tuck it under the same as you did for the pony.
Subscribe to:
Posts (Atom)